
Chemistry lab equipment works best when you treat each item like it has one job, one limit, and one proper way to handle it. A beaker is not a measuring tool with fine accuracy. A volumetric flask is. A balance, a pipette, a burette, and a crucible all solve different problems, and students who blur those jobs usually make messy data and broken glass. This guide covers the standard chemistry lab equipment you see in classrooms, teaching labs, and intro lab exams. You will get the names, the purpose, the precision limits, and the handling rules that matter most. That includes glassware, plasticware, heating tools, and measuring devices. You will also see the biggest student mistake: assuming every clear container works the same way. It does not. The real trick is matching the tool to the task. If you need a rough volume, a beaker can work. If you need a 0.1 mL reading or a 0.01 g mass, you need something much more exact. That difference sounds small, but it changes results fast. One wrong choice can throw off a titration, a density lab, or a heat experiment in minutes.
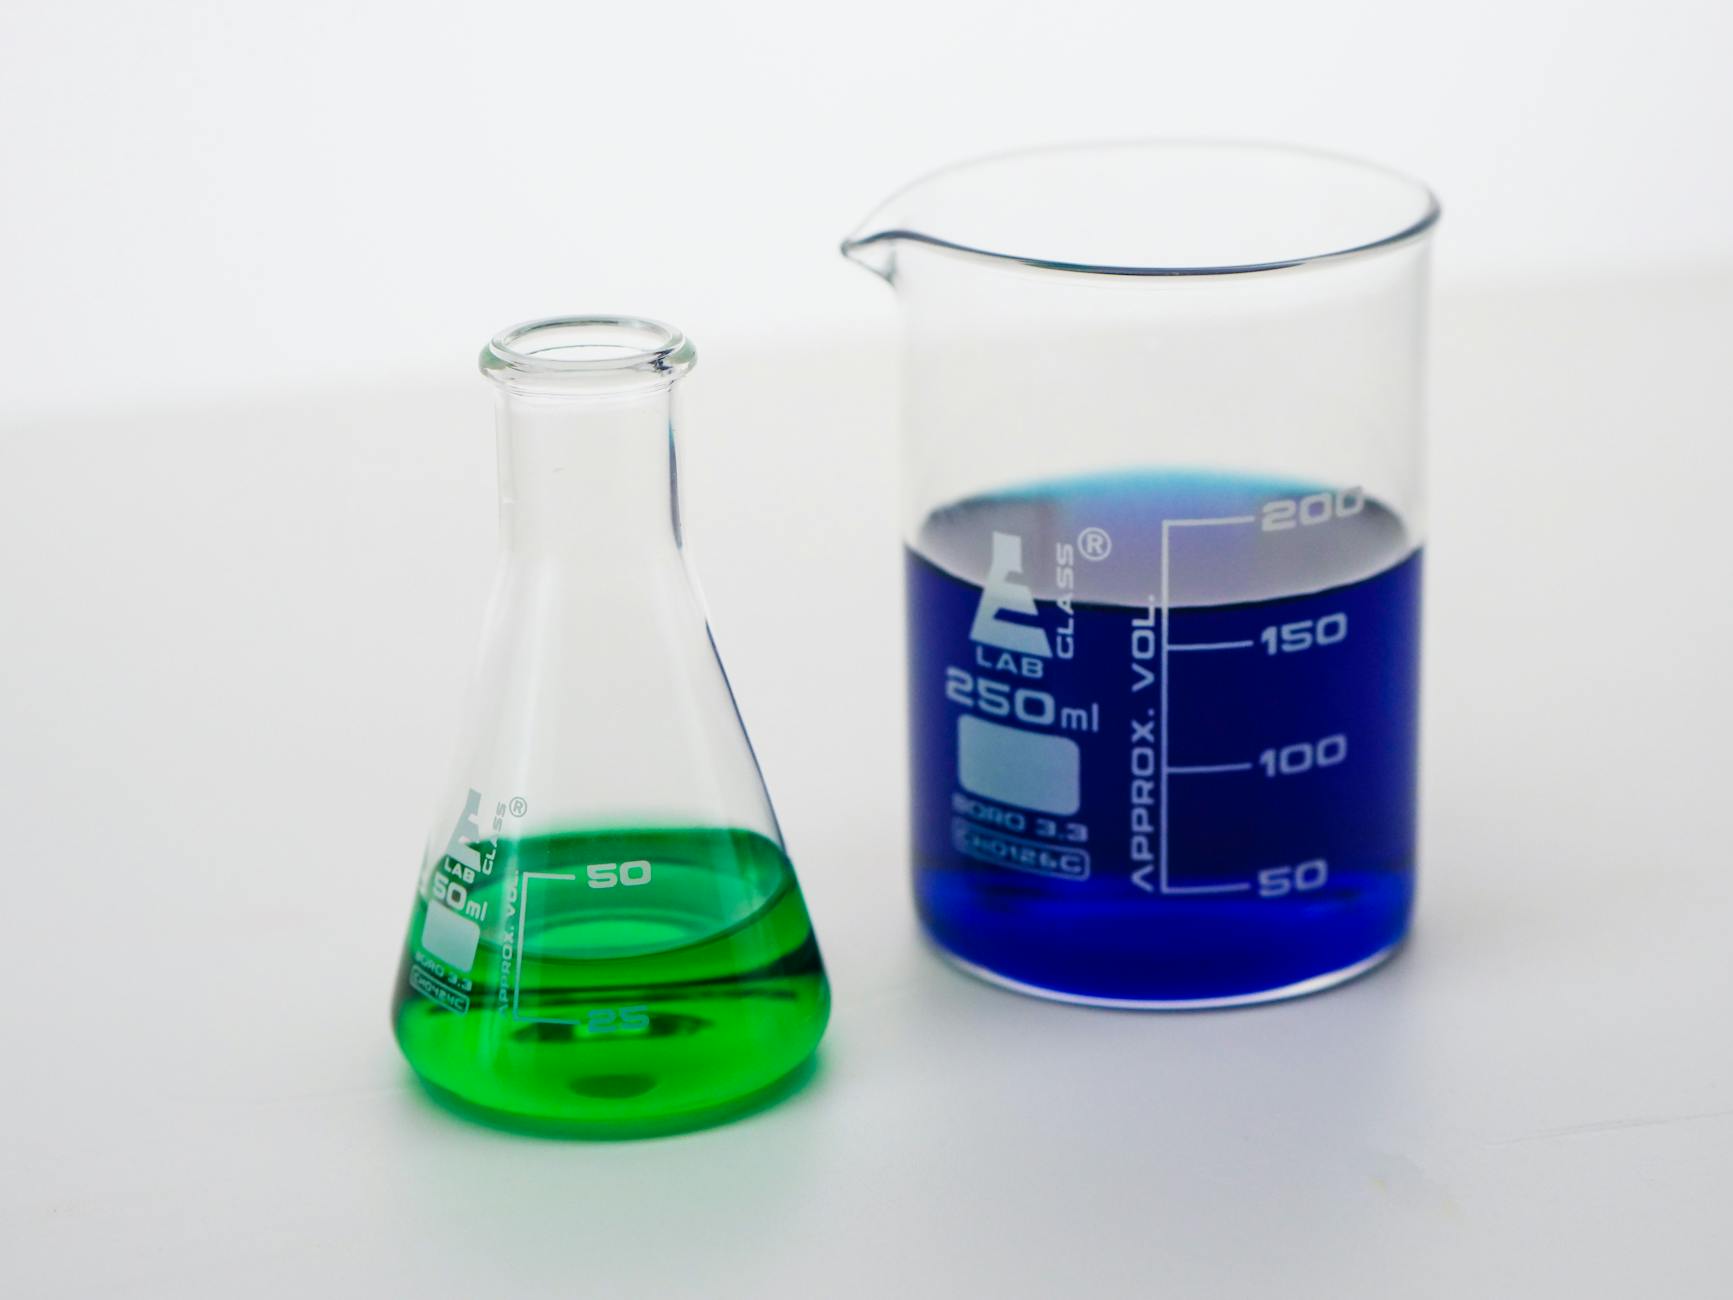
Which chemistry lab equipment should you know?
The biggest student mistake is thinking every chemistry lab tool only measures or heats, but each item has a narrow job and a real precision limit. A 250 mL beaker can help you mix, yet it cannot replace a 100.00 mL volumetric flask or a burette that reads to 0.1 mL. That matters in titrations, density work, and any lab where a 1% error can change your answer. This guide splits the gear into the main groups you actually use: measuring, transferring, heating, holding, separating, and observing. The [lab glassware guide](/courses/chemistry) idea starts here, because the shape and material tell you what the tool can do.
- Measuring: balance, graduated cylinder, burette, pipette, volumetric flask.
- Heating: Bunsen burner, hot plate, crucible, evaporating dish.
- Holding: beaker, Erlenmeyer flask, test tube, watch glass, ring stand.
- Separating: funnel, filter paper, separatory funnel, centrifuge.
- Observing: thermometer, magnifier, spectroscope, pH paper.
How accurate are common laboratory apparatus?
These are the tools students use most in first-year labs, and the differences matter more than the shiny look of the glass. A beaker and a graduated cylinder both hold liquid, but only one gives a decent reading. The table below shows common chemistry lab equipment names, what each item does, how precise it usually is, and the handling habit that saves the most grief.
| Equipment | Purpose | Typical precision | Handling note |
|---|---|---|---|
| Beaker | Mixing, heating, rough estimates | About ±5% | Do not use for exact volume |
| Graduated cylinder | Measure liquid volume | Often 0.1-1 mL graduations | Read meniscus at eye level |
| Volumetric flask | Make one exact volume | Class A often ±0.05 mL | Use at calibration line only |
| Pipette / burette | Transfer or deliver precise liquid | Usually 0.01-0.1 mL resolution | Rinse with solution first |
| Analytical balance | Measure mass | Common readability 0.0001 g | Close doors before reading |
Reality check: A 50 mL beaker and a 50 mL graduated cylinder do not give the same quality of data, and that is not a small detail. If you are doing a Chemistry I lab on density or reaction yield, the wrong measuring tool can wreck the whole result.
Why do glassware and plasticware differ?
Borosilicate glass handles heat far better than ordinary plastic, which is why labs use it for flasks, test tubes, and many pieces of heating gear. Pyrex-style borosilicate glass can handle direct flame far better than polypropylene or polyethylene, and that heat tolerance matters the moment you go above room temperature. Plastic works well for storage, quick transfer, and some low-risk measuring tasks, but it can warp, scratch, and hold residues after repeated use.
The material also changes chemical compatibility. Strong acids, strong bases, and organic solvents can attack some plastics, while glass usually resists a wider range of chemicals. That is why a lab glassware guide always starts with material choice, not just size. A 100 mL beaker made of glass can go on a hot plate. A plastic cup cannot. A 10 mL transfer pipette may use plastic for convenience, but a precise 25.00 mL volumetric pipette often uses glass because shape and calibration matter more than speed.
What this means: Beakers are for mixing and rough estimates, not exact volume work, and that misconception causes more bad data than any other beginner error. If you need 250 mL of solution within tight limits, use a volumetric flask or a calibrated cylinder, not a beaker marked at 100, 200, and 300 mL.
Plastic also scratches faster, and scratches trap chemicals. That gets ugly around dyes, oils, and salts after just 3-5 uses in a teaching lab. Glass costs more to replace if it breaks, but it gives a cleaner reading and better heat resistance when the job calls for it. A smart lab chooses the material for the task, not for convenience alone.
The Complete Resource for Chemistry Lab Equipment
UPI Study has a full resource page built specifically for chemistry lab equipment — covering which courses count, how credits transfer to US and Canadian colleges, and how to get started at $250 per course with no deadlines.
Explore Chemistry Lab Course →How should you handle chemistry lab tools?
Good handling keeps your results clean and your equipment alive. Most mistakes come from rushing, not from hard chemistry, and a 30-second check before use beats a ruined run every time.
- Inspect the item for chips, cracks, clouding, or bent tips before you start. A cracked flask or chipped burette can fail under heat or pressure.
- Read the meniscus at eye level and match the right glassware to the job. A 0.1 mL reading means nothing if you look from above or below.
- Pick the smallest tool that fits the volume, then rinse it with the solution if you need accuracy. A 50 mL burette gives better control than a 250 mL beaker.
- Keep transfer tools clean and separate. Cross-contamination from one drop of acid, base, or salt can change a titration by more than 1%.
- Wash, dry, and store items right away after use. Letting residue sit for 24 hours makes cleanup harder and can etch some glass or stain plastic.
- Use heat gear with care. Hot plates, burners, and crucibles need tongs or heat gloves, and a red-hot crucible stays dangerous for several minutes after heating.
Bottom line: A clean 25.00 mL pipette is better than a dirty 100 mL one, because precision beats size in real lab work. That one habit saves more results than any fancy tool.
If you want a structured lab walk-through, the chemistry lab course page style of instruction helps a lot here, because it ties each tool to its exact use instead of tossing names at you all at once.
Which chemistry lab equipment names matter most?
The lab equipment names that matter most fall into six groups: measuring, transferring, heating, holding, separating, and observing. Measuring tools include the analytical balance, graduated cylinder, burette, pipette, and volumetric flask, with the balance often reading to 0.0001 g and the flask marked for one exact final volume. Those are the items that show up on first-year exams and in most general chemistry labs.
Transferring and holding tools include droppers, funnels, beakers, Erlenmeyer flasks, test tubes, and watch glasses. Beakers and flasks hold liquid, but they do not promise tight volume accuracy, and that matters when a 250 mL beaker only gives a rough estimate. Heating gear includes Bunsen burners, hot plates, crucibles, tongs, and evaporating dishes. A Bunsen burner gives direct flame, while a hot plate gives slower, safer heating for many liquids.
The catch: Beginners often learn the names first and the job second, and that order causes confusion. A funnel separates solids from liquids during filtration, but it does not measure anything at all.
Observation tools round out the list: thermometer, pH paper, magnifying lens, and sometimes a spectroscope. A thermometer with 1 °C divisions suits simple labs, but a tighter sensor helps when temperature shifts decide the result. Specialized tools exist, but the foundation stays the same: know the shape, know the use, and know the limit. If you can spot a burette, a volumetric flask, and a crucible on sight, you already cover the core of standard laboratory apparatus.
The Environmental Science course also uses many of these same tools in water, soil, and sample-testing labs, so the names carry over fast.
What should you remember before using equipment?
Precision comes first, because chemistry lab equipment only works well when you match the tool to the task. A beaker gives a rough volume. A graduated cylinder improves that. A volumetric flask or burette pushes accuracy much farther, often into the 0.1 mL range. That gap is small on paper and huge in a real lab grade.
Glassware is not interchangeable, and the material matters as much as the shape. Borosilicate glass handles heat and many chemicals better than common plastic, while plastic makes sense for quick transfer, storage, and low-heat work. A scratched funnel, a chipped beaker, or a dirty pipette can ruin results fast, and the fix usually starts with better inspection, better cleaning, and slower hands. A lot of beginners go wrong: they treat lab tools like kitchen containers, and chemistry does not forgive that habit.
If you want deeper practice with chemistry lab tools, standard lab glassware guide rules, and the full set of lab equipment names, take a course that shows the tools in context and not just in a glossary. A structured online course can walk you through measurements, safety, and handling step by step, which beats guessing from random notes.
Start with the equipment you see most often, then learn the precision limits behind each one, and you will read a lab bench with much more confidence the next time you walk in.
Frequently Asked Questions about Chemistry Lab Equipment
$10 to $200 can buy basic chemistry lab equipment pieces, but the price only matters after you know what each tool does. You use it to measure, heat, mix, hold, and separate substances in experiments, and each item has a set limit for precision.
What surprises most students is that one name can cover several shapes and sizes, like beakers, Erlenmeyer flasks, and graduated cylinders. A beaker holds and pours; a graduated cylinder measures liquid more accurately, often to 1 mL or 0.1 mL.
This applies to you if you use standard laboratory apparatus in school labs, college labs, or training labs, and it doesn't fit industrial plant gear or medical devices. A 50 mL burette, a 250 mL flask, and a Bunsen burner all need different handling.
You should hold glassware by the body, use tongs for hot items, and keep cracked pieces out of use. A pipette can read to 0.1 mL, but only if you keep it vertical and avoid touching the tip to dirty surfaces.
If you get the lab glassware guide wrong, you can ruin a measurement by 5 mL or more and break a flask with sudden heat. You also risk cuts from chipped glass, which is why you inspect every piece before you start.
The most common wrong assumption is that all glassware measures liquid the same way, but it doesn't. A volumetric flask gives one fixed volume, like 100 mL or 250 mL, while a beaker only gives rough readings.
Most students pour by eye, but a balance with 0.01 g readability and a graduated cylinder gives better results. You get cleaner data when you read the meniscus at eye level and use the right tool for the job.
Start by checking the label, the volume mark, and any crack or chip before you use a single piece. Then place the item on a flat bench, because a tilted surface can throw off a 100 mL reading fast.
You should know beaker, Erlenmeyer flask, volumetric flask, graduated cylinder, burette, pipette, test tube, funnel, crucible, mortar and pestle, and thermometer. These names cover most chemistry lab equipment you'll see in a standard school lab.
You can explore the accredited online course for this subject and study the full chemistry lab equipment set with lab glassware guide details, precision limits, and safe handling steps. It gives you a structured way to learn the names, uses, and care of each item.
Final Thoughts on Chemistry Lab Equipment
Chemistry lab equipment looks simple until you use it wrong. Then the details show up fast. A 0.1 mL reading, a 0.0001 g balance, a cracked flask, or a dirty pipette can change your result before you notice what happened. That is why the best students do not just memorize lab equipment names. They learn what each tool does, how far its precision goes, and what handling rule keeps it honest. The most useful habit is also the plainest one: match the tool to the task. Use beakers for mixing and rough work. Use graduated cylinders for better volume readings. Use volumetric flasks, burettes, and pipettes when accuracy matters. Use borosilicate glass for heat and plastic only where the chemistry and temperature allow it. That sounds basic, but basic skills carry most lab grades. A good lab student also checks for chips, reads the meniscus at eye level, keeps tools clean, and stores them before residue turns into a problem. Those habits save time, money, and data. They also make the whole bench feel less chaotic. Keep this guide handy the next time you see a rack of glassware or a tray of chemistry lab tools. Learn the item, learn the limit, then use it with care.
How UPI Study credits actually work
Ready to Earn College Credit?
ACE & NCCRS approved · Self-paced · Transfer to colleges · $250/course or $99/month