
A screenshot is a picture of what is on your screen right now. Students use it to save error messages, class directions, grades, and homework steps without typing everything out. This matters when a teacher wants proof, a help desk wants the exact message, or you need to keep a record of a page that may change later. You can grab the whole screen, one open window, or just a small box around the part you want. That choice matters more than people think. A full-screen shot shows the full context, but it can also capture private tabs, chat messages, or messy side panels. A window shot keeps the focus on one app. A selected-area shot gives you the cleanest image when only 3 lines or one error code matter. Students run into screenshots all the time in a computer concepts and applications course, in an online course, and during everyday work with email, forms, or learning platforms. The good news is that most devices save the image right away, often in less than 1 second. The annoying part is that each device uses a different shortcut and a different save spot, so people miss the file and think the shot failed. That usually comes down to the wrong keys, the clipboard, or a hidden save folder.
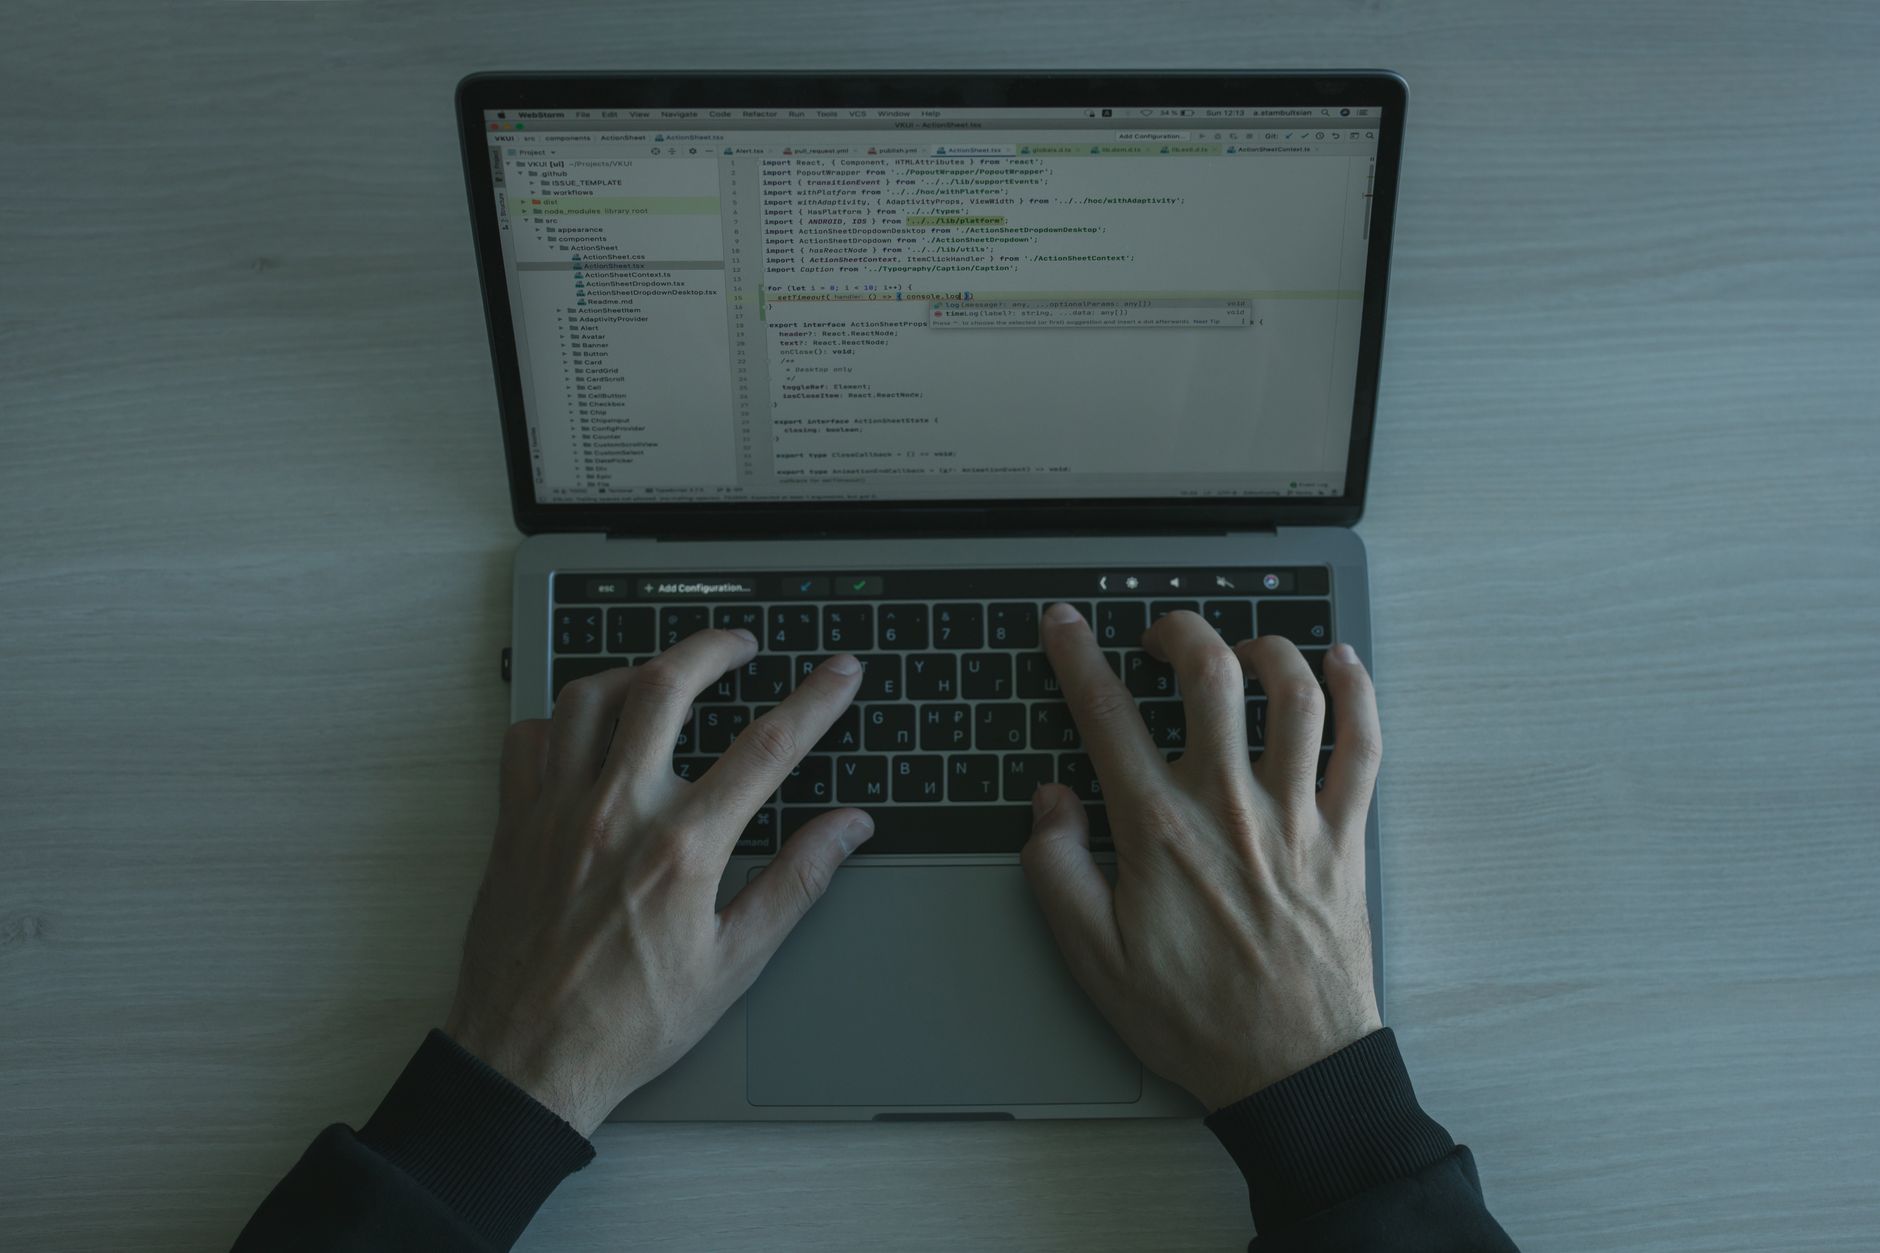
What Does A Screenshot On Your Screen Show?
A screenshot shows a saved image of whatever your monitor displays at that moment, whether that is a webpage, a 2026 assignment page, a 403 error, or a Zoom window. Students use it to keep class notes, prove what an instructor said on screen, and send exact error messages without guessing.
The catch: A screenshot freezes the whole display, so it can capture 2 browser tabs, a taskbar, and even a notification if it appears at the wrong second. That makes full-screen shots useful for context, but messy when you only need one part of the page.
A window screenshot grabs only one open app, like Word, Gmail, or a learning portal, so the rest of the desktop stays out of the picture. A selected-area shot goes one step tighter and lets you drag a box around 1 chart, 1 paragraph, or 1 error code. That smaller crop often looks cleaner when you submit work to a teacher or paste evidence into a help ticket.
This is why a screenshot beats a typed description most of the time. If the page shows “File not found” or a 2-line homework prompt, your image gives the exact words, layout, and visible buttons in one file. People waste time describing what they saw when the screen already did the talking.
How Do You Take A Screenshot On Your Screen?
The shortcut matters more than the device brand, because most systems capture the screen instantly when you press the right keys. Windows, Mac, Chromebook, and tablets all do this a little differently, so the first job is picking the method that matches your device.
- On Windows, press PrtScn for the full screen, or use Windows key + Shift + S for a selected area. The image often copies in under 1 second, and Snipping Tool opens on newer versions of Windows 10 and 11.
- On a Mac, press Command + Shift + 3 for the full screen or Command + Shift + 4 for a selected area. Press Command + Shift + 5 if you want the on-screen control bar for window shots and recording.
- On a Chromebook, press Ctrl + Show windows for the full screen, or Ctrl + Shift + Show windows for a selected area. The file usually lands in the Downloads folder right away, not 5 minutes later.
- For a window-only shot on Windows, press Alt + PrtScn after you click the app you want. That grabs just 1 active window, which helps when you do not want the rest of the desktop showing.
- On many tablets and phones, press the Power button and Volume Down at the same time. Most devices save the image instantly, and the thumbnail appears for a few seconds before it disappears.
- If nothing seems to happen, try the shortcut again once, then look for the save notification or clipboard copy. A second attempt after 2 to 3 seconds beats hammering the keys blindly.
Learn Computer Concepts Applications Online for College Credit
This is one topic inside the full Computer Concepts Applications course on UPI Study — a self-paced, online class that earns real college credit. Credits are ACE and NCCRS evaluated and transfer to partner colleges across the US and Canada. Courses start at $250 with no deadlines and lifetime access.
Browse Computer Concepts Course →Which Screenshot Method Should Students Use?
Pick the shot that matches the job, not the one with the fanciest name. A clean screenshot saves time in class, helps when you email a teacher, and avoids clutter that can hide the 1 detail you actually need.
- Use full screen when you need the whole page, like a timetable, gradebook, or multi-step error screen.
- Use one window when you want only Word, Chrome, or Excel, not the whole desktop.
- Use a selected area for 1 paragraph, 1 chart, or a 2-line error code.
- For homework help, selected area shots look sharper and keep private tabs out of view.
- For a teacher proof shot, a full screen image can show the date, title, and open app together.
- For software bugs, a window shot often works better because it removes background clutter and keeps the app name visible.
- Reality check: A sloppy capture can hide the exact clue you need, and that can turn a 10-second fix into a 10-minute mess.
Where Are Screenshots Saved On Your Device?
Most screenshots save to the Desktop, the Pictures folder, or a Screenshots folder, but the exact spot depends on the device and shortcut you used. On Windows, a Print Screen shot may go to the clipboard, while Windows + PrtScn often saves a file automatically in Pictures > Screenshots. On Macs, the image usually lands on the desktop with a file name that starts with “Screen Shot” and a date and time stamp.
Clipboard-only captures need a paste step. If you used Windows key + Shift + S, the shot may sit in the clipboard until you press Ctrl + V into Word, Mail, Paint, or a chat box. That trips up a lot of students because the image exists, but no file shows up yet.
Different systems also name files in different ways, and that matters more than people expect. A Chromebook often drops screenshots into Downloads, while some apps, browsers, and learning tools save inside their own folders or show the image in Recent files. If you cannot find it right away, check the notification bubble, the new file name, or the last 5 items in your recent list before you try the shortcut again.
Why Does Your Screenshot Not Work Sometimes?
Screenshot problems usually come from 5 plain causes: the wrong shortcut, a locked function key, clipboard copy without paste, a disabled tool, or an app that blocks capture. Most fixes take under 30 seconds, and the fastest move is to wait a few seconds for the save notice, then check the default folder, clipboard, or recent images before pressing anything again.
- Check the shortcut first. PrtScn, Windows + Shift + S, Command + Shift + 3, and Ctrl + Show windows do different jobs.
- Try the Fn key if your laptop uses function-key lock. Many slim keyboards need Fn + PrtScn or Fn + another key.
- Paste the clipboard shot into Word, Paint, or an email if no file appears.
- Close or refresh apps that block capture, such as some streaming tools or secure exam windows.
- Look in the last folder you used, because a 1-click save can land in Downloads, Pictures, or Desktop.
Frequently Asked Questions about Screenshots
This applies to you if you use Windows, Mac, Chromebook, iPhone, or Android and need to save what you see on screen; it doesn't help much if you only work in voice-only apps. A screenshot gives you a still image of a full screen, one window, or one selected area.
Most students hit Print Screen and hope for the best, but Windows users usually need Win + Shift + S or the Snipping Tool to grab the exact area they want. On a Mac, Command + Shift + 3 captures the full screen, and Command + Shift + 4 lets you pick a section.
Start by deciding what you want: the whole screen, one open window, or just part of the page. Then use the matching shortcut, like Command + Shift + 3 on Mac for full screen or Win + Shift + S on Windows for a selected area.
The biggest surprise is that a screenshot captures exactly what's visible, not the whole webpage or hidden file content. If you need a longer page, you may need a scrolling screenshot tool or to take 2 or 3 separate shots.
If you grab the wrong area, you can miss the error message, hide the date, or leave out the 2nd half of a form, and that makes troubleshooting harder. A clear screenshot helps support staff see the problem fast.
In a computer concepts and applications course, you often use screenshots to show a saved file, a browser page, or a settings change, and that can support college credit work in a lab or online course. On Windows, Win + Shift + S works for selected areas, and on Mac, Command + Shift + 3 works for the full screen.
The most common wrong assumption is that the screenshot saves itself automatically in the same place every time. On Windows, many shots go to the clipboard unless you save them, and on Mac, full-screen shots usually save to the Desktop.
You can still take a screenshot by using the Snipping Tool on Windows or the Screenshot app on Mac, and that often fixes shortcut problems in 10 seconds. If the keyboard key fails, check whether Fn or the Windows key needs to be held down.
Screenshots usually save to the Desktop on Mac and to Pictures > Screenshots on Windows, while clipboard shots stay in memory until you paste them. On Chromebooks, screenshots often go to the Downloads folder.
Screenshots help you prove what you saw on a quiz page, show an error code, or document an assignment before you submit it in an online course. That makes them useful when you need transferable credit evidence or a fast tech fix.
Yes, screenshots help you save proof of completed modules, quiz results, or course screens in ACE NCCRS credit programs, and that matters when you track progress in a study online class. Keep the image clear and include the date or page title when you can.
On most iPhones, you press the Side button and Volume Up at the same time, and on most Android phones, you press Power + Volume Down. That gives you a quick image of the screen, and it usually saves to Photos or Gallery.
You take the shot first, then crop out names, account numbers, or messages before you send it. On Windows and Mac, the built-in editor lets you trim the image in a few clicks, which keeps your screenshot useful and clean.
Final Thoughts on Screenshots
Screenshots look simple, but they save time in real life because they give you proof fast. A student can capture a professor’s directions, a broken login page, a homework prompt, or a grade notice in 1 second instead of typing the whole thing out. That makes the image more reliable than memory, and it cuts down on back-and-forth when you ask for help. The main habit to build is choice. Full screen works when you need the whole scene. One window works when you want clean focus. A selected area works when you only need the part that matters. That choice matters more than the shortcut itself, because a bad crop can hide the clue you needed. Troubleshooting stays pretty simple too. Check the keys, wait a few seconds, look in Desktop, Pictures, Downloads, or the clipboard, and try again once. People often assume the computer failed when the image just saved somewhere unexpected. Students who get this down early spend less time fighting their device and more time using it. Try a full-screen shot, then a window shot, then a selected-area shot on your own device today and notice where each one saves.
How UPI Study credits actually work
Ready to Earn College Credit?
ACE & NCCRS approved · Self-paced · Transfer to colleges · $250/course or $99/month