
CSS transitions make a style change happen over time instead of all at once. You change a value, and the browser spreads that change across a set duration, like 0.2s or 300ms, so the shift feels smooth instead of jumpy. That sounds simple, but students often mix up transitions with animation. A transition does not run on its own like a looping clip. It only starts when a property value changes, such as on hover, focus, active, or when a class gets added by code. No change, no transition. That detail matters because the browser handles the motion for you. You do not need JavaScript for the effect itself, and you do not need a big stack of code to make a button feel alive. You only need a property that can move from one computed value to another. A good introduction to html and css course usually shows this with color, opacity, or transform because those changes are easy to see. A bad first lesson makes students think every property can slide around smoothly. That is where people get confused fast. If you want to know how to use css transitions well, start by thinking about the change, not the trick. Ask what the user sees before and after. Then pick the property, set the time, and keep the motion short enough that it feels like feedback, not a distraction.
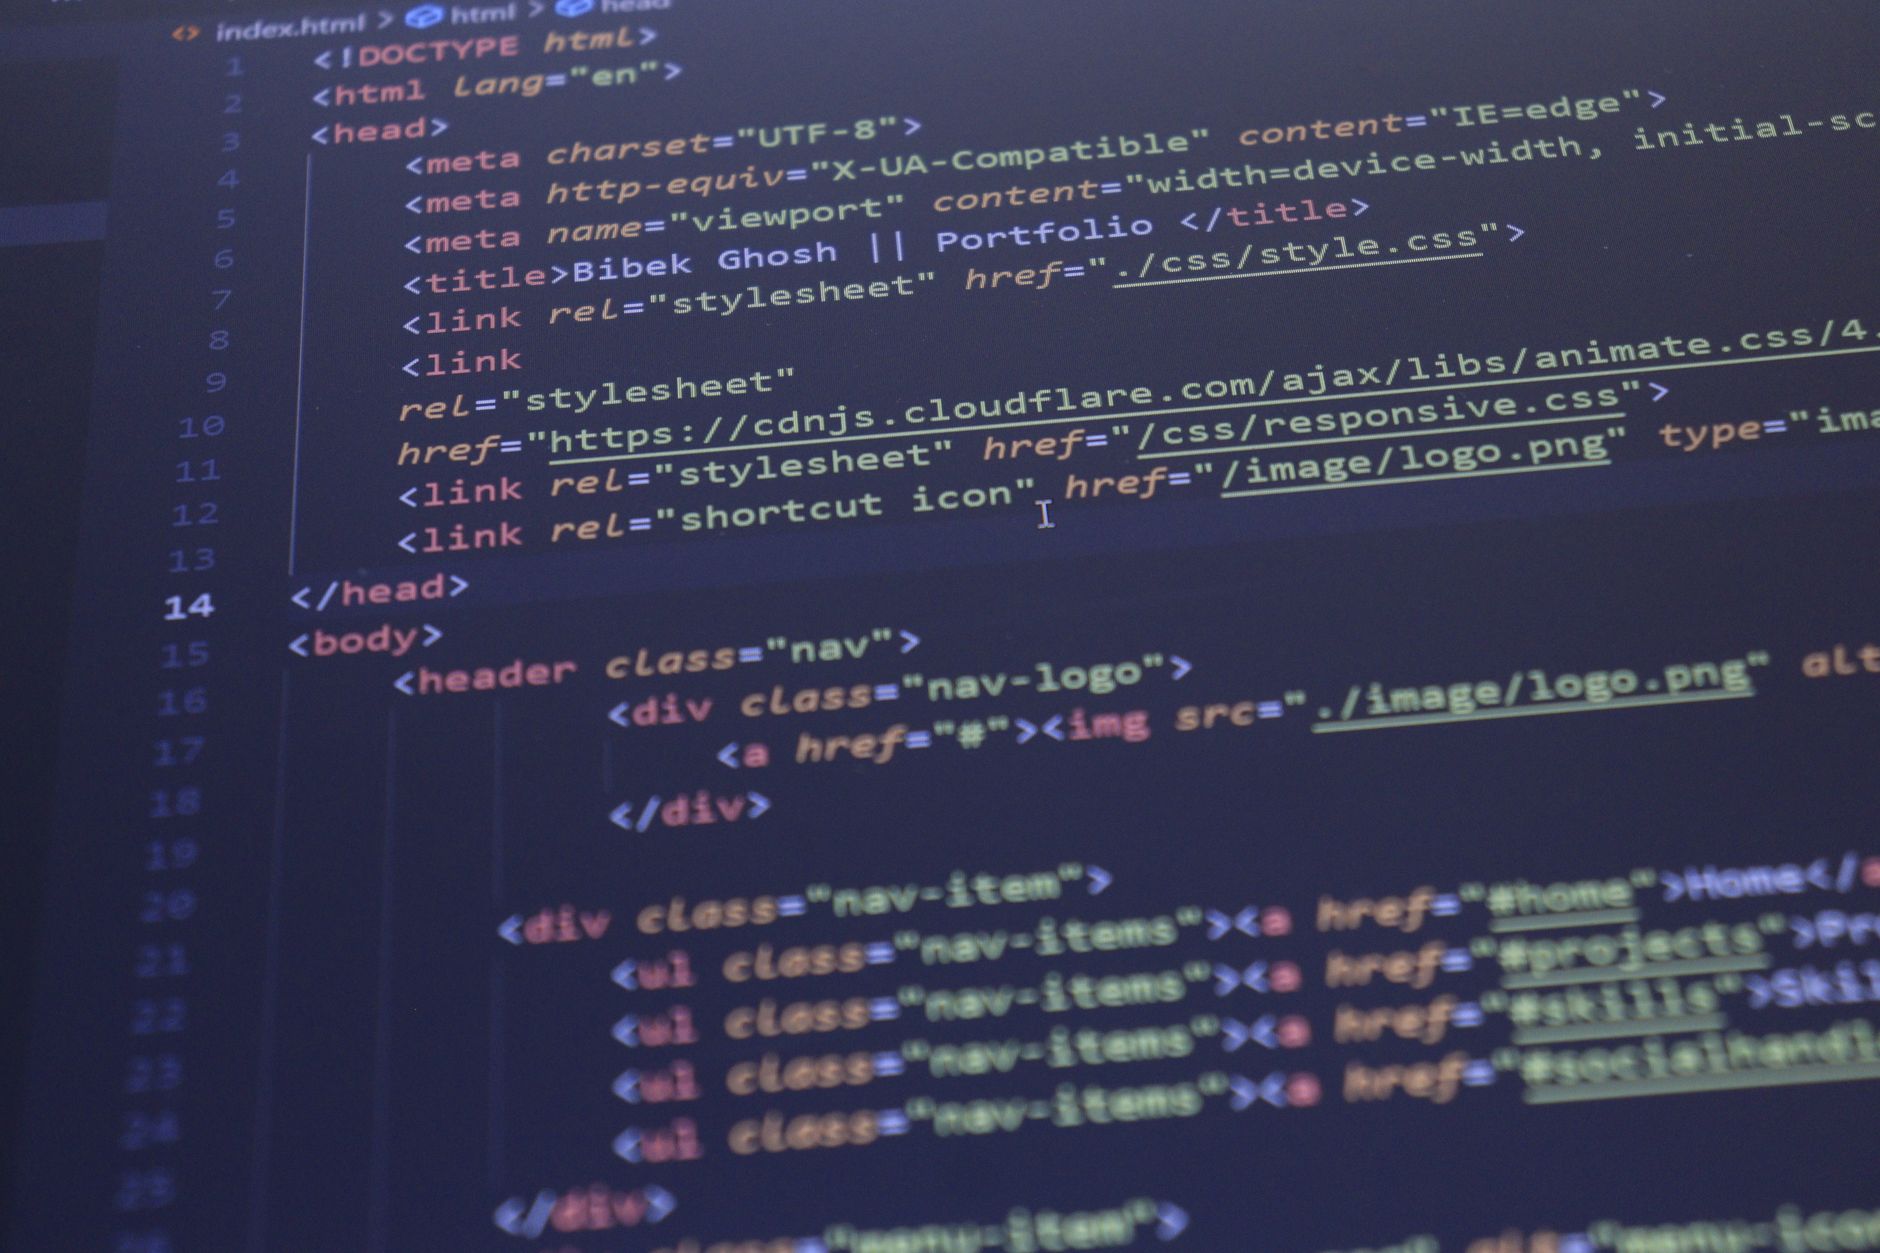
How Do CSS Transitions Create Smooth Changes?
CSS transitions create smooth changes by taking one computed style value and blending it into another over time, so a button can shift from gray to blue in 0.2s instead of snapping in 1 frame. The browser watches for a change in the property value, then draws the in-between states for you.
The catch: The transition does not live inside the element like a permanent loop; it only runs after a change, such as a hover state, a focus state, or a class toggle from JavaScript. That is the most common student mistake, and it leads to weird expectations.
People often think the transition itself causes the change. It does not. The change comes first, and the transition acts like a short bridge across that gap. If you set a card to scale from 1 to 1.05 on hover, the browser can interpolate those two numbers because both values belong to the same property and the gap is small.
That also explains why transitions feel calm when they work well. A 150ms fade on opacity feels like a soft response, while a 2s slide feels like the page got lazy. I think short motion usually looks better because it respects the user’s eye and keeps the page moving.
The browser can do this without heavy scripts because it already knows both states. You give it the before value and the after value, and it fills the middle. That is the whole trick, and it works the same in Chrome, Firefox, Safari, and Edge.
A transition can also reverse cleanly. Move the pointer off the element, and the browser animates back to the old value over the same 250ms if you keep the same declaration. That back-and-forth feel is what makes hover effects seem polished instead of twitchy.
Which CSS Properties Can Transitions Animate?
Not every CSS property can move through 120 intermediate steps, but many visual ones can, and that makes them good choices for transitions. The simple rule: if the browser can interpolate between two values, the property usually works well.
- Color, background-color, opacity, and transform usually animate cleanly. They change in visible but controlled ways, which makes them a safe first pick.
- Width, height, margin, and padding can transition too, but they may trigger layout work. That can feel heavier on a page with 20 or 30 elements.
- Display does not animate at all. A box cannot smoothly go from display: none to display: block because the browser treats that as a switch, not a range.
- Border-color, box-shadow, and filter often work, but too much blur or shadow on 10 cards can make motion feel mushy.
- Discrete values like position keywords, z-index jumps, and many visibility changes do not interpolate. They flip, and the browser gives you no middle frame.
- Transform is a favorite because scale(1) to scale(1.05) or translateY(0) to translateY(-4px) looks clean and stays readable.
- If you can describe the change as a number, percentage, or color stop, you are usually in better shape than if the change is a hard yes-or-no switch.
Worth knowing: Many students get better results by starting with opacity and transform before touching layout properties like width or height. That habit saves time, especially in an Introduction to HTML and CSS style lesson.
A practical test helps: if you can imagine the browser moving from 0 to 100 in small steps, the property probably belongs on your transition list. If you cannot picture any middle values, the property probably will not animate the way you want.
That rule sounds plain, and it works.
Learn Introduction To Html Css Online for College Credit
This is one topic inside the full Introduction To Html Css course on UPI Study — a self-paced, online class that earns real college credit. Credits are ACE and NCCRS evaluated and transfer to partner colleges across the US and Canada. Courses start at $250 with no deadlines and lifetime access.
Browse HTML CSS Course →How Do You Write A CSS Transition Declaration?
A transition declaration has four parts, and the shorthand lets you pack them into one line instead of writing a longer block. You can build it step by step, starting with the property that changes and ending with the delay, which might be 0s or 150ms.
- Start with transition-property, which names the CSS property you want to animate, like opacity or transform. If you leave it out in the shorthand, many browsers treat all as the default target.
- Set transition-duration next, because the browser needs a time to stretch the change across, such as 200ms, 300ms, or 1s. No duration means no visible motion.
- Pick transition-timing-function to control the speed curve, like ease, linear, ease-in, or ease-out. This decides whether the change starts fast, ends fast, or keeps a steady pace.
- Add transition-delay if you want the animation to wait before starting, like 100ms on a menu or 0.5s on a teaching demo. Delay can help, but too much of it feels sluggish.
- Use the shorthand when you want a compact line, like transition: transform 200ms ease 0s; That line reads as property, duration, timing function, then delay in that order.
- Check the default behavior before you ship it. If you write only transition: 300ms ease;, the browser may apply that timing to all animatable properties, which can create surprises on a busy component.
Reality check: Shorthand saves space, but it can also hide sloppy thinking if you never name the property. In a real project, Introduction to HTML and CSS work gets cleaner when you say exactly what should move.
I like the property-first habit because it keeps your code readable six months later, not just on the day you write it.
You can also combine multiple transitions, one for opacity and one for transform, when a card needs both fade and lift. That works well with an Introduction to JavaScript lesson too, since class changes often trigger both effects.
Why Do Hover And Focus States Feel Better With Transitions?
Hover and focus states feel better with transitions because the user gets feedback in 100 to 300ms instead of a jarring snap, so the interface feels responsive without looking frantic. A link that fades, a button that lifts 4px, or a field that changes border color tells the eye, “yes, I saw that.”
What this means: Smooth focus styles help keyboard users too, since a visible outline or glow should appear clearly in less than 0.2s and never hide behind fancy motion. That kind of motion belongs in a thoughtful interface, not a flashy one, and I think a lot of student projects overdo it.
Transitions also make state changes easier to read. A hover effect on a card, an active press on a button, and a class toggle on a menu can all share the same timing so the page feels like one system instead of three random tricks. That consistency matters more than a big visual stunt.
Accessibility still matters here. A focus ring should stay obvious, and a transition should not slow it down so much that users lose track of where they are. If a state change takes 1 second, the page starts acting polite in the wrong way.
What Common CSS Transition Mistakes Should You Avoid?
Most transition problems come from trying to make motion do too much work. A 2019 Nielsen Norman Group study found that small, well-timed motion helps users notice change, but sloppy motion just adds noise, so keep your effects short and specific.
- Do not default to transition: all; it can animate properties you never meant to touch.
- Avoid long durations like 800ms or 2s unless you want a slow, dramatic effect.
- Never expect display to animate; use opacity, transform, or max-height when you need a smooth reveal.
- Choose timing curves that match the action. A button press feels better with 150ms ease-out than with a weird bounce.
- Keep motion subtle on performance-sensitive elements, especially if 20 cards or 50 rows move at once.
Bottom line: Subtle motion beats flashy motion on most sites, and that rule shows up fast in real class projects and portfolio work.
A lot of beginners also forget that transition behavior changes across property types. Color and opacity feel cheap to animate; layout-heavy changes like width can force the browser to do more work. That can make a simple hover effect stutter on older laptops or phones.
You will get better results if you pick 1 or 2 properties, keep the duration near 200ms, and test the hover state with a mouse, a trackpad, and the Tab key.
Frequently Asked Questions about CSS Transitions
2 common parts make a hover transition work: you set the starting style on the element, then you add `transition: property duration timing-function delay;` so the browser animates the change over time instead of snapping. On `:hover`, `:focus`, or `:active`, you can move color, size, opacity, or position smoothly.
You should learn CSS transitions if you write HTML and CSS for buttons, cards, menus, or form fields, and you can skip them if you only need a static page with no state changes. A simple `transition: all 300ms ease;` already covers most basic hover effects.
CSS transitions make a style change happen over time instead of all at once. You pick the property, like `color` or `transform`, set a duration such as `200ms` or `0.3s`, and the browser fills in the frames between the two states.
The timing function surprises most students because `linear` and `ease` can make the same 300ms animation feel very different. `ease` starts slow and speeds up, while `linear` moves at the same rate the whole time.
The most common wrong assumption is that CSS transitions can animate every property the same way, but they work best with numeric or interpolable values like `opacity`, `width`, `margin`, and `transform`. Properties like `display` cannot transition smoothly.
Most students change too many properties at once, but cleaner transitions usually work better with one or two changes, like `transform: translateY(-2px)` and `box-shadow`. A 150ms to 300ms duration often feels sharp without looking jumpy.
Start by writing the normal state first, then add the transition rule to that same element before you change the hover or focus state. For an `întroduction to html and css course` project, try `transition: background-color 250ms ease-in-out;` on a button.
If you get the property or duration wrong, the element can jump, lag, or feel broken, especially on hover and focus states. A missing unit like `300` instead of `300ms` or `0.3s` will stop the timing from working right.
Yes, a good `introduction to html and css` online course can carry college credit when it comes with ACE NCCRS credit or transferable credit from a cooperating school. That matters if you study online and want the course to count toward a degree plan.
Pick one property first, like `opacity` or `transform`, then use a short duration such as `200ms` to `400ms`, a simple timing function like `ease`, and a `0ms` delay unless you want a staggered effect. That keeps the motion clear and readable.
Final Thoughts on CSS Transitions
CSS transitions work best when you treat them like feedback, not decoration. Pick one property that can interpolate, give it a short time like 150ms or 300ms, and let the browser do the middle steps. That simple habit makes buttons, links, cards, and form fields feel smoother without turning the page into a light show. The biggest student mistake is thinking transitions need JavaScript or some special animation setup. They do not. The browser already knows how to move between two values when you change a class, hover a link, focus a field, or press a button. Once that clicks, the rest gets much easier. Keep your eye on the user, not the trick. A clean hover state helps people see what is clickable. A clear focus state helps keyboard users move through a page. A fast, subtle motion says “this worked” without stealing attention. If your first attempt looks awkward, trim it. Cut the duration. Remove the extra property. Try opacity or transform before you touch layout. That is the part most students skip, and it shows. Start with one small interaction today and make it feel better in 0.2s.
How UPI Study credits actually work
Ready to Earn College Credit?
ACE & NCCRS approved · Self-paced · Transfer to colleges · $250/course or $99/month